Form Builder
Open Admin > Form Builder to choose the fields on your case, evidence, review and custody forms.
Choose a form
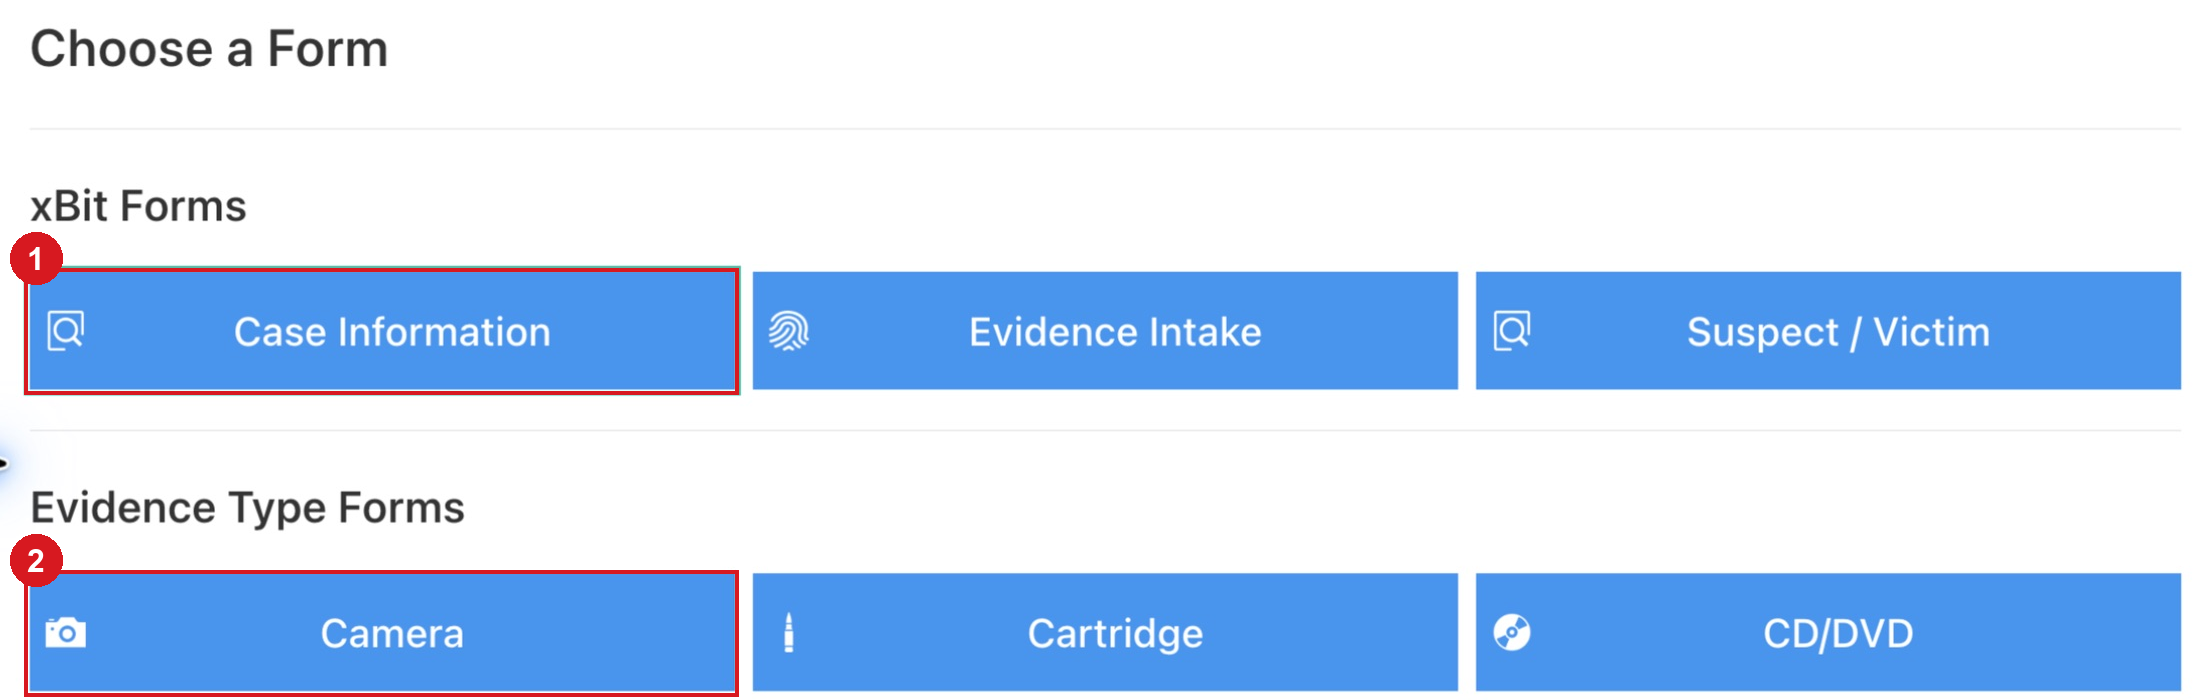
- Core forms, such as Case Information, collect case-wide information.
-
Evidence type forms, such as Camera, collect device-specific information.
-
Select a form under xBit Forms, Evidence Type Forms, Review Forms or Chain of Custody Forms.
- To create an evidence type form, click + under Evidence Type Forms, enter its name and click Save.
- Where available, Disable Form removes a form from use. Open Disabled Forms in the chooser and select a form to enable it again.
For an evidence type form, set USSS Stats Type and ICAC Stats Type to classify it for statistics. USSS Stats Type appears when USSS statistics are enabled.
Arrange fields
- Hover over a field and drag its position handle to reorder it.
- Place optional fields below Show Additional Fields to keep them collapsed initially. Required fields must remain above that divider; custom fields cannot move above System Fields.
- Toggle Required to require a value, where allowed. Always Required fields cannot be made optional.
- Toggle In Request Submission Form to include the field in Lab Submission, where allowed.
- Use Remove Field to detach a field, or Disable Widget to hide a field group where allowed. Read the confirmation: removing fields can also affect Table Views, labels, evidence names and report content.
Edit a field
Click the field's edit icon, change its settings, then click Save in the sidebar.
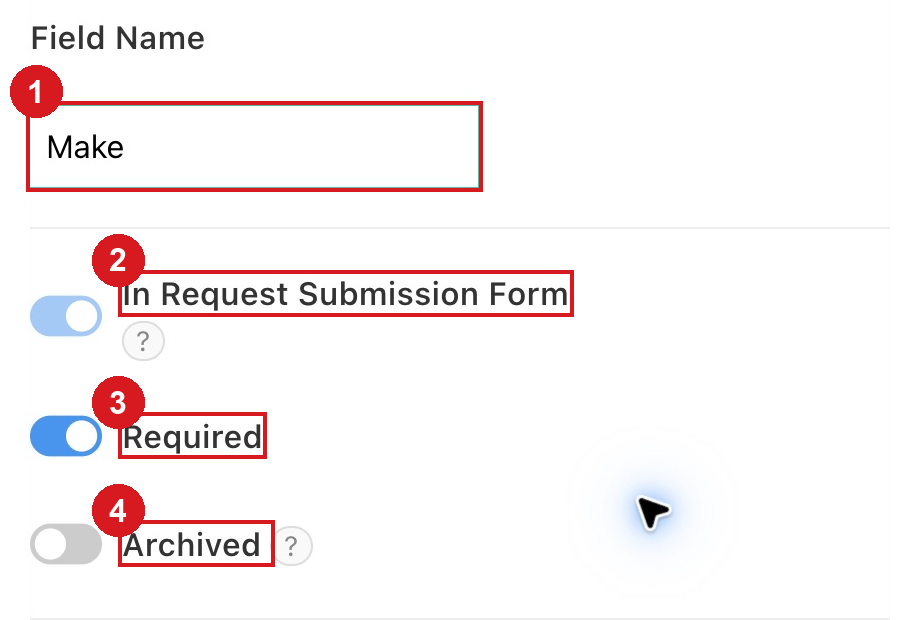
- Field Name sets the label.
- In Request Submission Form includes it in Lab Submission.
- Required requires a value.
- Archived preserves historical data while hiding the field on new records.
| Setting | What it controls |
|---|---|
| Field Name | The label displayed on this form, where renaming is allowed. |
| Required | Whether users must supply a value. |
| In Request Submission Form | Whether requesters see the field on the submission form. |
| Archived | Hides the field on new records; it remains visible when editing records that contain historical data. Some system fields cannot be archived. |
| Field Type | The kind of value stored. System field types cannot be changed. |
| Choices | Options for choice fields; some system choices cannot be renamed or removed. Choices already in use can be disabled. |
| Instructions | Help shown with the field. |
Turn on Show Archived Fields above the form to find and edit archived fields.
Changing a custom field's type can convert or delete existing data, including data in other forms that use that field. Review the affected forms and the confirmation before saving.
Add fields
- Click Add New Field, or the plus button at the bottom of the form.
- To reuse a field, open Field Library, search, select the fields and click Add Fields.
- To create a field, open Add Your Own and enter Field Name. Check the suggested existing fields before creating another.
- Set Field Type, Required, In Request Submission Form and Instructions as needed, then click Save or Save and Add Another.
- Use the field's edit icon for additional settings after adding it.
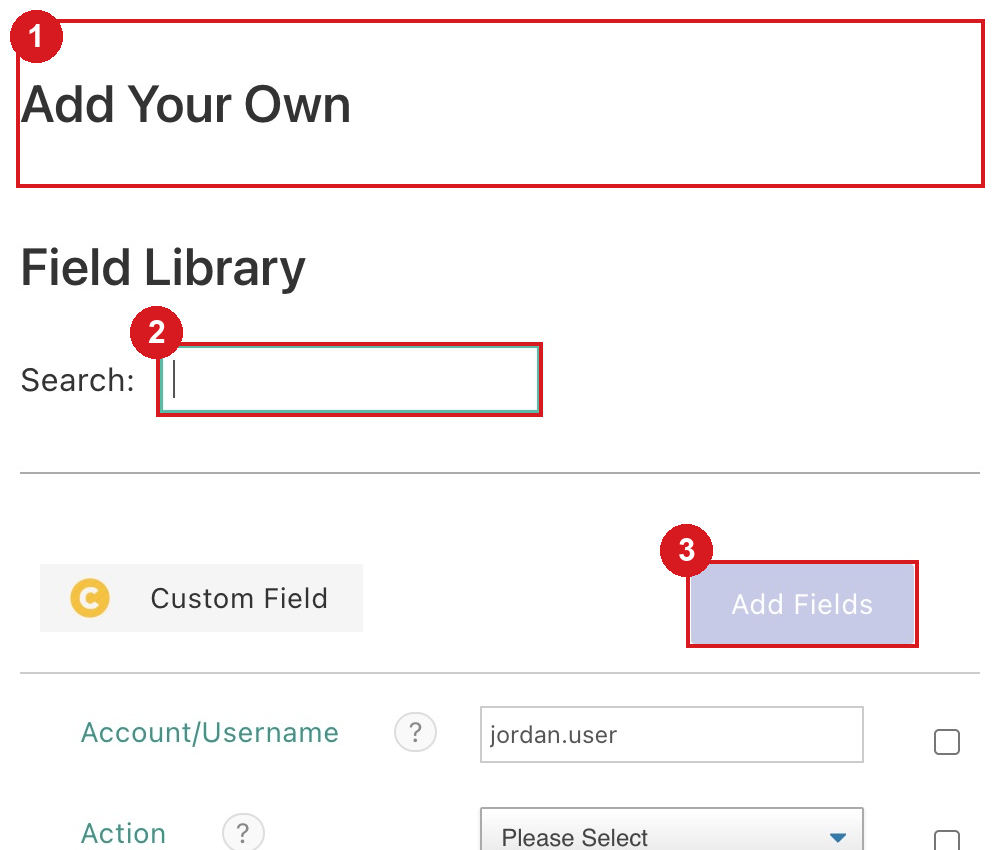
- Add Your Own opens the custom-field form.
- Search finds existing fields.
- Add Fields adds the selected fields to the form.
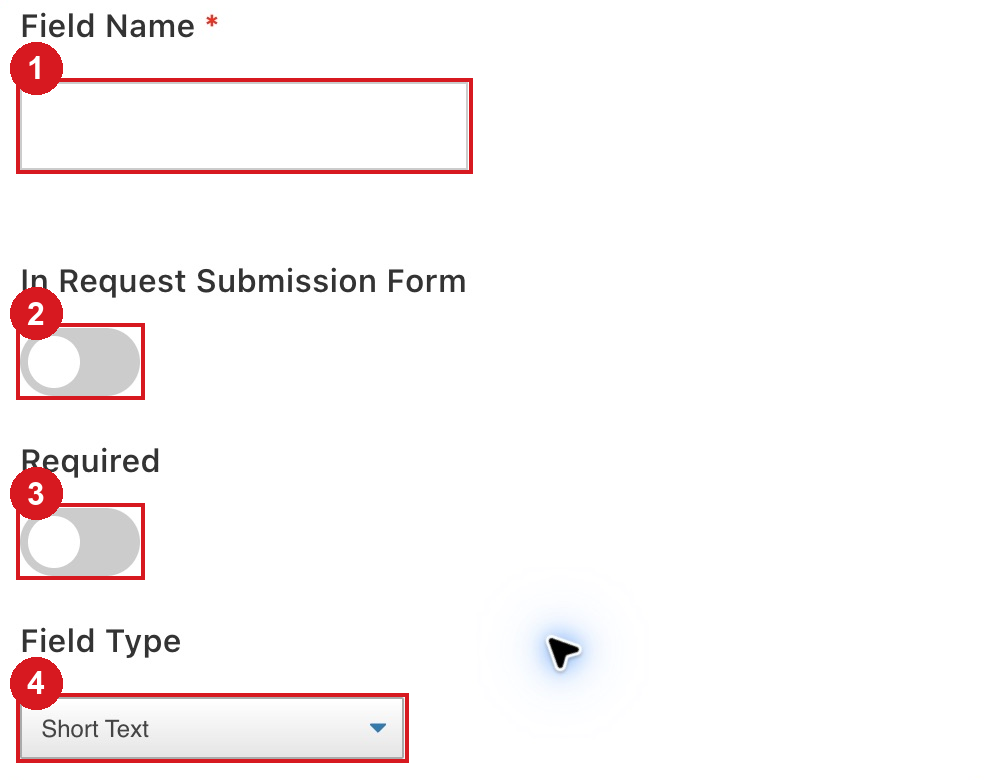
- Enter Field Name.
- Set In Request Submission Form where needed.
- Set Required where needed.
- Choose Field Type.
Custom field types include:
| Purpose | Field Type |
|---|---|
| Text | Short Text, Long Text, Rich Text |
| Choices | Single Choice, Dropdown, Multiple Choice |
| Dates | Date, Date and Time |
| Numbers | Number (Integer), Number (Decimal) |
| Other values | Pattern, Signature, User, File Upload |
Rich Text fields cannot be added to Table Views. Special system fields are available through Field Library rather than the custom field type list.
Evidence Status and badges
To configure Evidence Status, select Evidence Intake and edit that field's Choices.
For Dropdown and Single Choice fields, enable Display as Badge and assign option colors. Evidence Status badges appear on the Case Dashboard; see Table View for displaying fields in lists.
Evidence names
Use the evidence naming edit control to choose the fields used in an evidence name. Evidence Intake holds the Master Template; an evidence type can use Master Template or its own Selected Fields, including Evidence Type.
Check Preview and click Save. Fields used for naming must also be present in Request Submission; xBit prompts before adding missing fields there.
Evidence ID field
On Evidence Intake, edit the Evidence ID field to set its Template, its Sequence Token and, with Use Different in Request Submission, a separate Request Submission Template for requests. For tokens such as [CID], see Auto CID.
When a request is accepted into the workflow
Choose the Evidence ID an accepted request item gets. Each option shows the ID it produces.
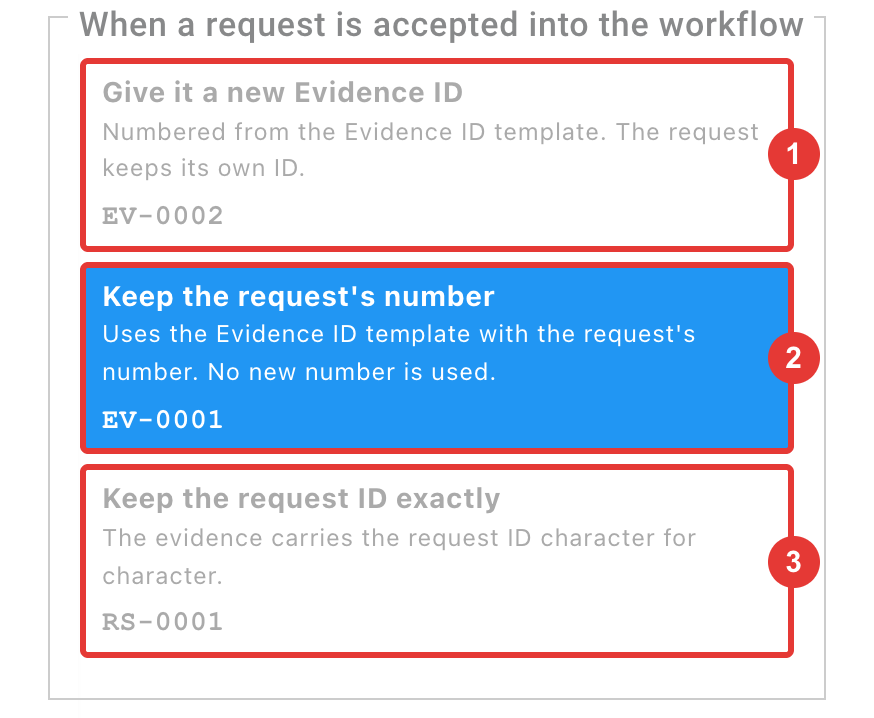
- Give it a new Evidence ID: the next number from the Evidence ID template. The request keeps its own ID.
- Keep the request's number: the Evidence ID template with the request's number. No new number is used.
-
Keep the request ID exactly: the request ID, character for character, in the Request Submission Template's format.
-
Both "keep" options need Sequence Token > Scope set to Global and the field In Request Submission Form. Otherwise they're greyed out.
- Keep the request ID exactly is only offered when the two templates differ.
- Editing a request item keeps its Evidence ID.
Reset the sequence
With Scope set to Global or Local, turn on Reset Sequence and set Sequence Start to restart numbering. Sequence Start shows the next number to be issued. It applies to evidence created in xBit, not to requests.
Barcode field
On Case Information and Evidence Intake, edit the Barcode field to choose how barcodes are assigned. See Barcodes for each option.
| Setting | What it controls |
|---|---|
| Barcode Source | Match a field (the Case ID or Evidence ID), Generate a number, or Manual. |
| Uniqueness | Global, Per record type or Not checked. |
| Request uniqueness | The same choice for requests. Shown when the field is In Request Submission Form. |
| Copy when adding to workflow | On, a case or evidence item created from a request keeps the request's barcode. Off, it gets its own. Shown when the field is In Request Submission Form. |
- After saving an automatic source, click Generate barcodes for N cases without one (or evidence items) to fill in existing records. See Add barcodes to existing records.
- If your IDs won't fit the site's Barcode Type, a warning appears under Field to match. Saving the field while it shows asks Save anyway?: until the barcode type changes, new records get no barcode from this setting.
Review and custody forms
- Edit the level forms to collect review results, comments or signatures. See Evidence Reviews for enabling levels and assigning reviewers.
- Edit a Chain of Custody form to choose the fields collected for a custody entry. Fields that allow it can be optional by turning off Required.
- When several custody forms are available, users select Custody Form when recording custody during evidence creation.
Update related reports
Form changes can leave Report Builder blocks or templates outdated. Follow the links in xBit's warning to review the affected content, including Lab Submission receipts; see Report Builder.