Setting up Azure/Office365 App
-
Go to https://portal.azure.com/
-
Select Microsoft Entra ID

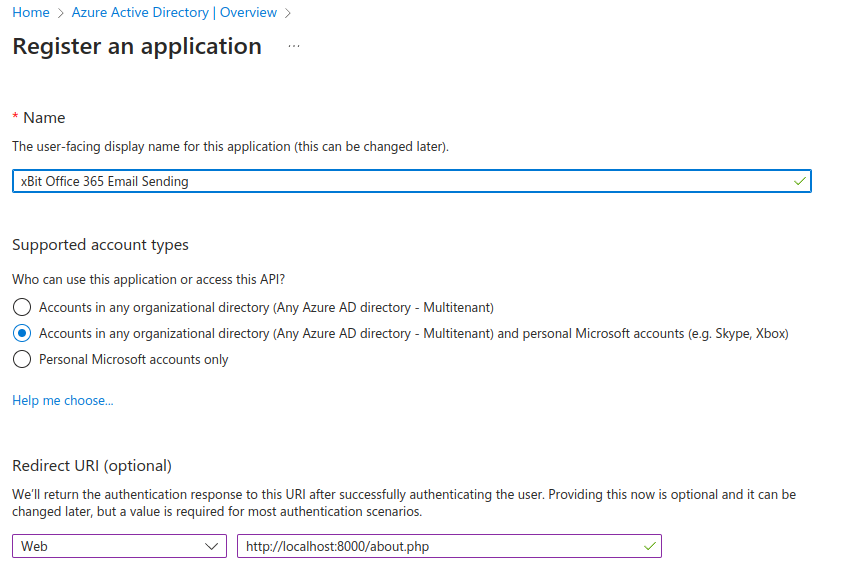
- Click "Add" and select "App Registration"

- Complete the name, select
Accounts in any organizational directory (Any Azure AD directory - Multitenant) and personal Microsoft accounts (e.g. Skype, Xbox)and on Redirect URI select "Web" and add your xBit installation host + /about.php (http://yourdomain.xbit/about.php for example) as the URL.
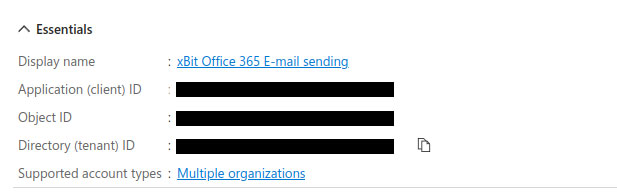
- Copy the Client Id and Tenant ID
-
Go to API Permissions and click "Add a permission"
-
Select "Microsoft Graph" and "Delegated permissions"

- From OpenID select "email" and "offline_access"

- From SMTP select "SMTP.Send"

- Click on "Add permissions" it should save and show the following

-
Go to "Certificates and secrets" and click on "New Client Secret"
-
Set name and expiration date
-
Save and copy the Secret

Configuring in xBit
-
Go to Admin -> About/Settings
-
Go to the E-Mail tab
-
Select Enable SMTP and type "Office 365"
-
Complete ClientId, Secret and TenantId

- Click Submit SMTP Settings
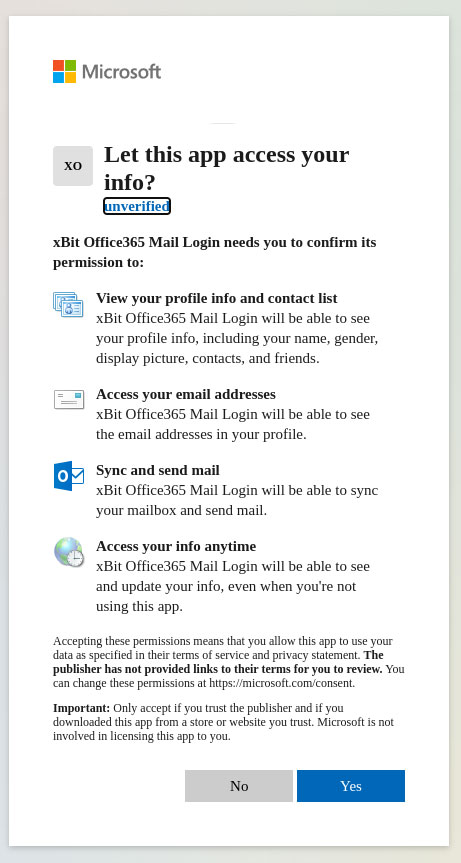
- Authorize Office 365