Installation guide
Please if you haven't read yet take a look at System requirements before you start the installation procedure.
xBit Installer
The xBit-Installer download provides a command Line (cli) tool for Windows and Linux users for setting up / upgrading xBit in their on-premise environments.
This tool will download the xBit Container image and create/update xBit containers in the onsite container runtime environment.
Prerequisites
- TeelKey License file (License.teelkey) - Either downloaded via the xBit Customer Portal or obtained from xBit Support
- Container runtime environment
- Windows
- Linux
# Install xBit
Windows
- Open PowerShell
- Temporary set Bypass on ExecutionPolicy for allowing script execution. Provide 'Y' when prompted for input.
Set-ExecutionPolicy -Scope Process -ExecutionPolicy Bypass
- Run script
cd xbit-installer\windows\
./installer.ps1
- Follow the instructions provided by the installer script.
- Supply the Teel Token supplied with the Welcome Email.
- Example Teeltoken:
1e317bf4-0b9e-4418-89c2-e50643a04c87

-
Once the TeelToken is validated, the installer will download the xBit Container images from the repository and start the xBit Service in Docker.
-
Once the installation is completed, the installer will prompt the URL list to access the xBit Application.
###########################
Happy to inform you that the application installation process was successful!

You can reach the application at:
http://10.0.188.234:17543
http://172.17.0.1:17543

###########################
If you need your IP and port number in the future: Navigate to your "xBit app" folder and open the "endpoint.txt" file. This can be shared.
Linux / Mac
- Open terminal
- Navigate to the script location and execute the installer script
cd xbit-installer/linux
./install.sh
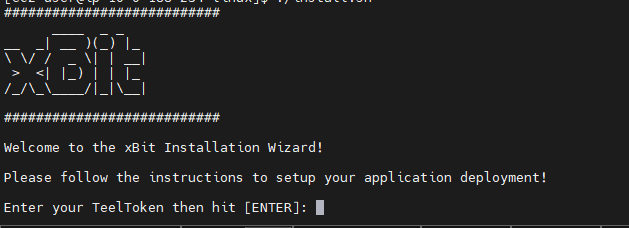
- Follow the instructions provided by the installer script.
- Supply the Teel Token supplied with the Welcome Email.
- Example Teeltoken:
1e317bf4-0b9e-4418-89c2-e50643a04c87
-
Once the TeelToken is validated, the installer will download the xBit Container images from the repository and start the xBit Service in Docker.
-
Once the installation is completed, the installer will prompt the URL list to access the xBit Application.
###########################
Happy to inform you that the application installation process was successful!

You can reach the application at:
http://10.0.188.234:17543
http://172.17.0.1:17543

###########################
Please copy this address out for continued access.
# Support Contacts
EMAIL: support@xbitdcm.com
PHONE: (203) 855-5387