xBit 3.12.0 Release Notes
July 25, 2024
🚀 New Feature: Report Builder
Introducing Report Builder: Your New Powerhouse for Data Insights
xBit Digital Case Management is excited to unveil our latest innovation: Report Builder. This cutting-edge feature empowers you to harness the full potential of your case data, transforming raw information into actionable insights.
With Report Builder, you can effortlessly create customized reports tailored to your specific needs with the flexibility and control to visualize your data in a meaningful way.
There are various reasons why you may need to fine-tune your reports
Ensuring Accuracy of Legal Testimony
Digital forensic reports must be thorough, as evidenced by the common belief that "if it is not in the report, it never happened." Attorneys on both sides of the isle and judges will not accept testimony about actions or statements that are not noted in a written report. Some cases take years to be heard in court and if a report does not contain details of the investigation, the memory of the witness as the report writer is attacked. There are exceptions but most do not want to endure and defend such moments.
Removing Shocking and Inappropriate Content
But what if that testimony is shocking to anyone that reads or hears it? The facts can be given but subdued. The description a horrific crime scene, for example, can be generally described but include a reference to a picture that was taken. The picture is not included but is stored as an evidence item if someone truly needs to reference it. There are laws that also say it is inappropriate to provide such visual evidence.
Anonymity for Victims and Witnesses
There are also laws, varying by state, that protect victims and witnesses from being identified. Personal information can be omitted and an alias can be used in case summaries.
Let's explore how Report Builder can revolutionize your case management process.
Let's start with some of the basic components of the report builder you have:
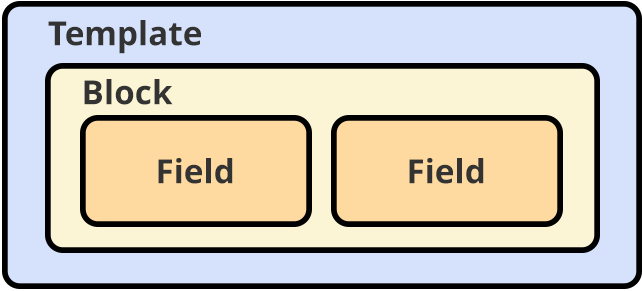
Templates: These are the top-level building blocks of your report
Blocks: Blocks are the structural component of your template. A template can have multiple blocks.
Fields: Fields are like any other fields you enter in a case or evidence. It is like what you would see in the form builder
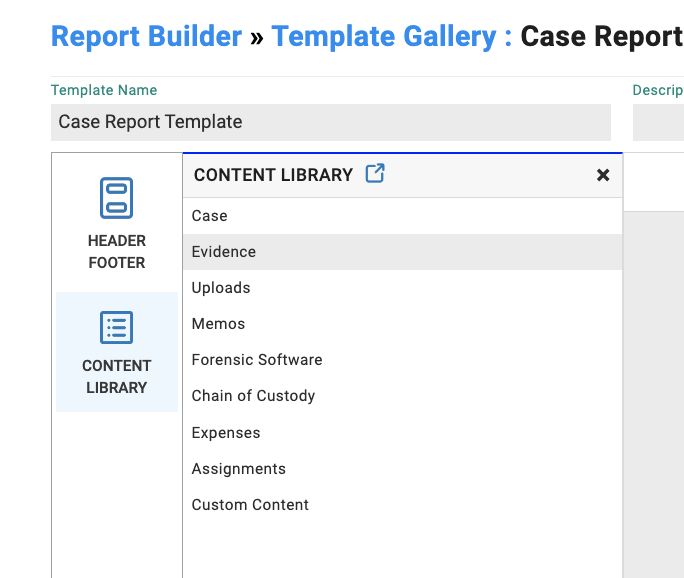
Content Library: Blocks can be shared between templates and saved in the content library.
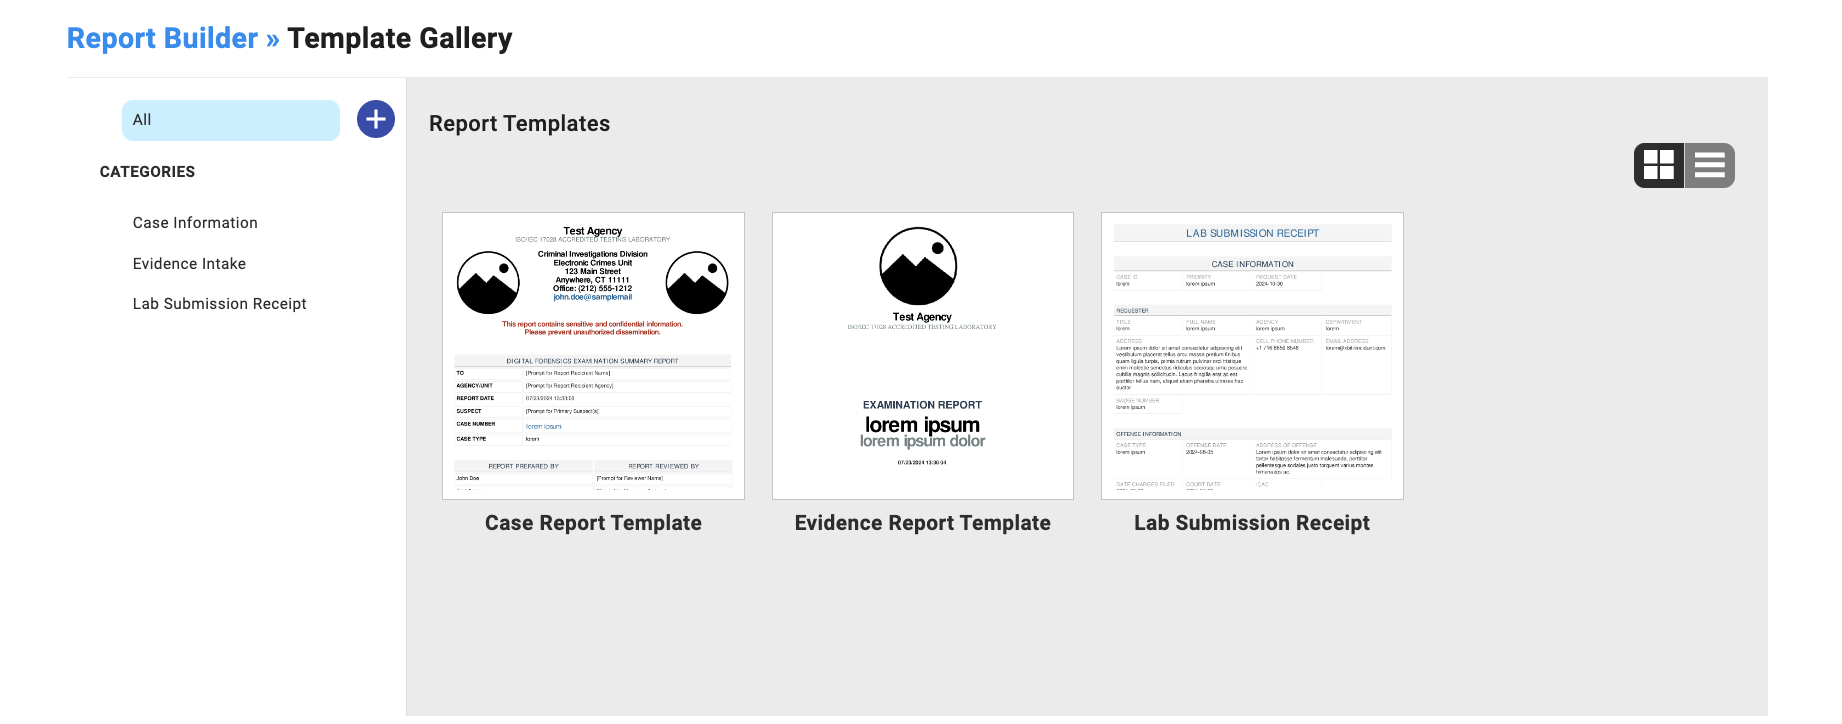
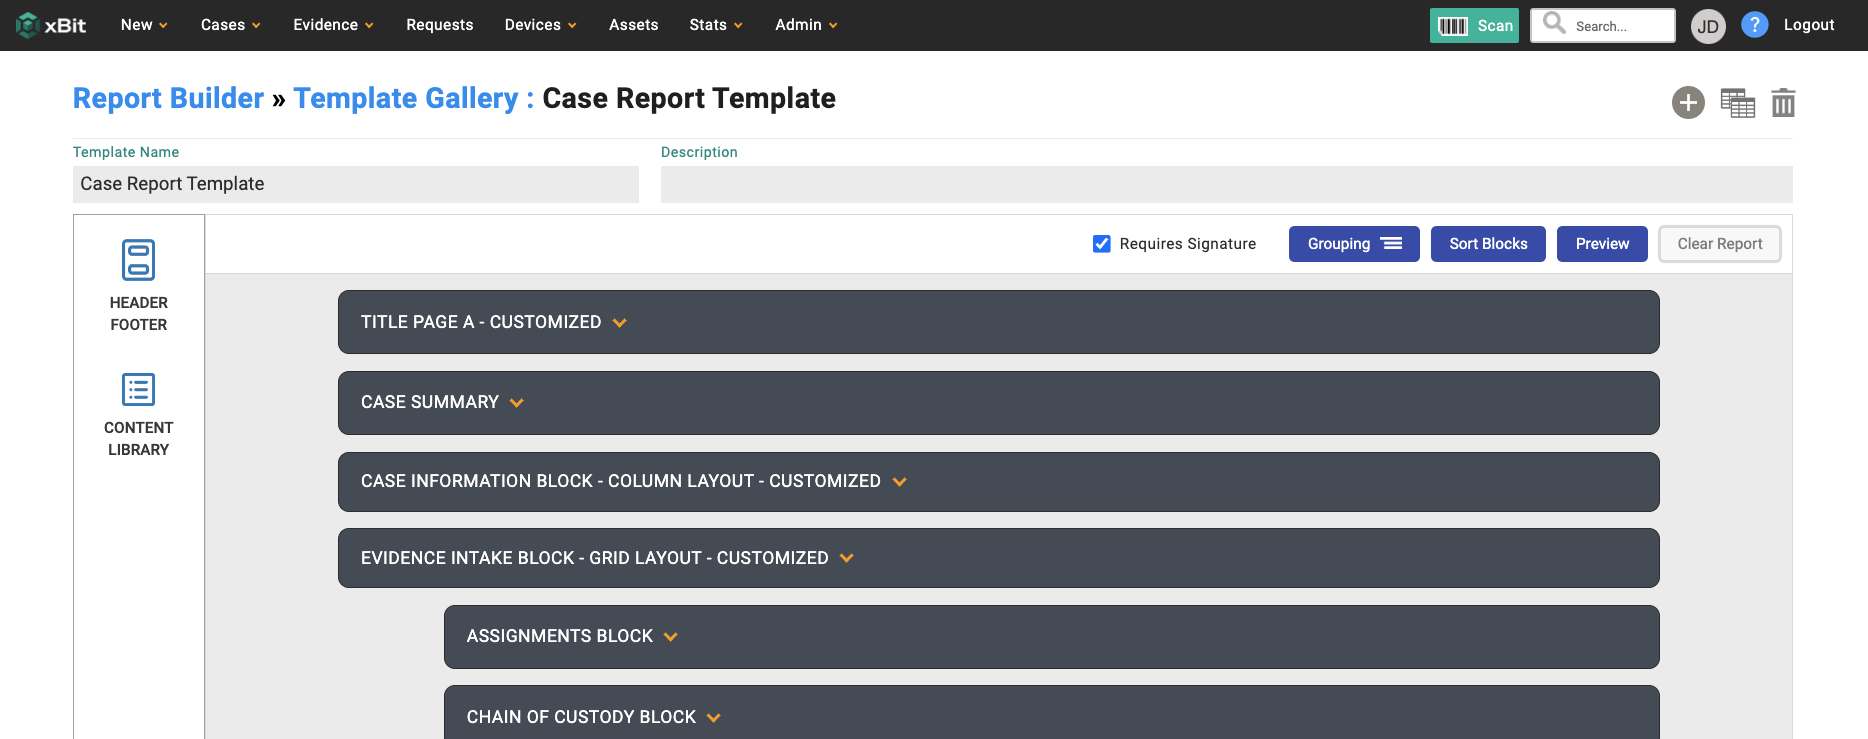
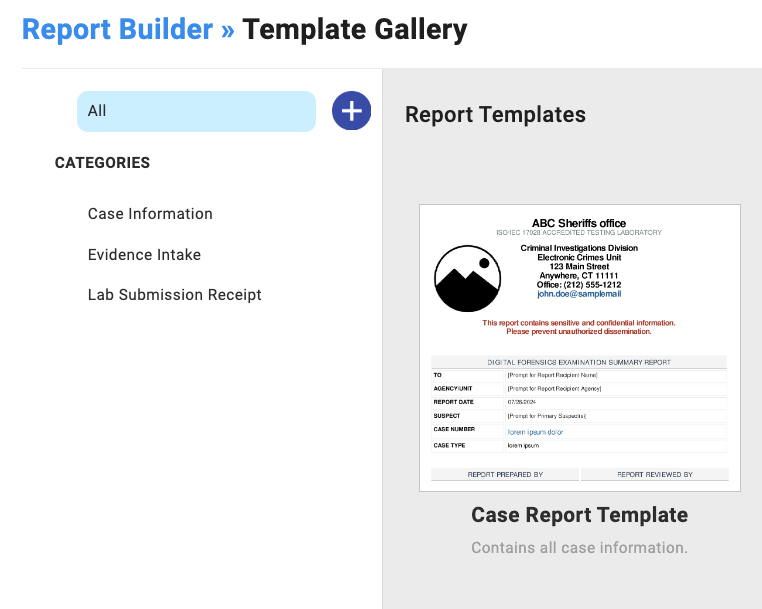
You can edit report templates through the Menu > Admin > Report Builder > Template Gallery.
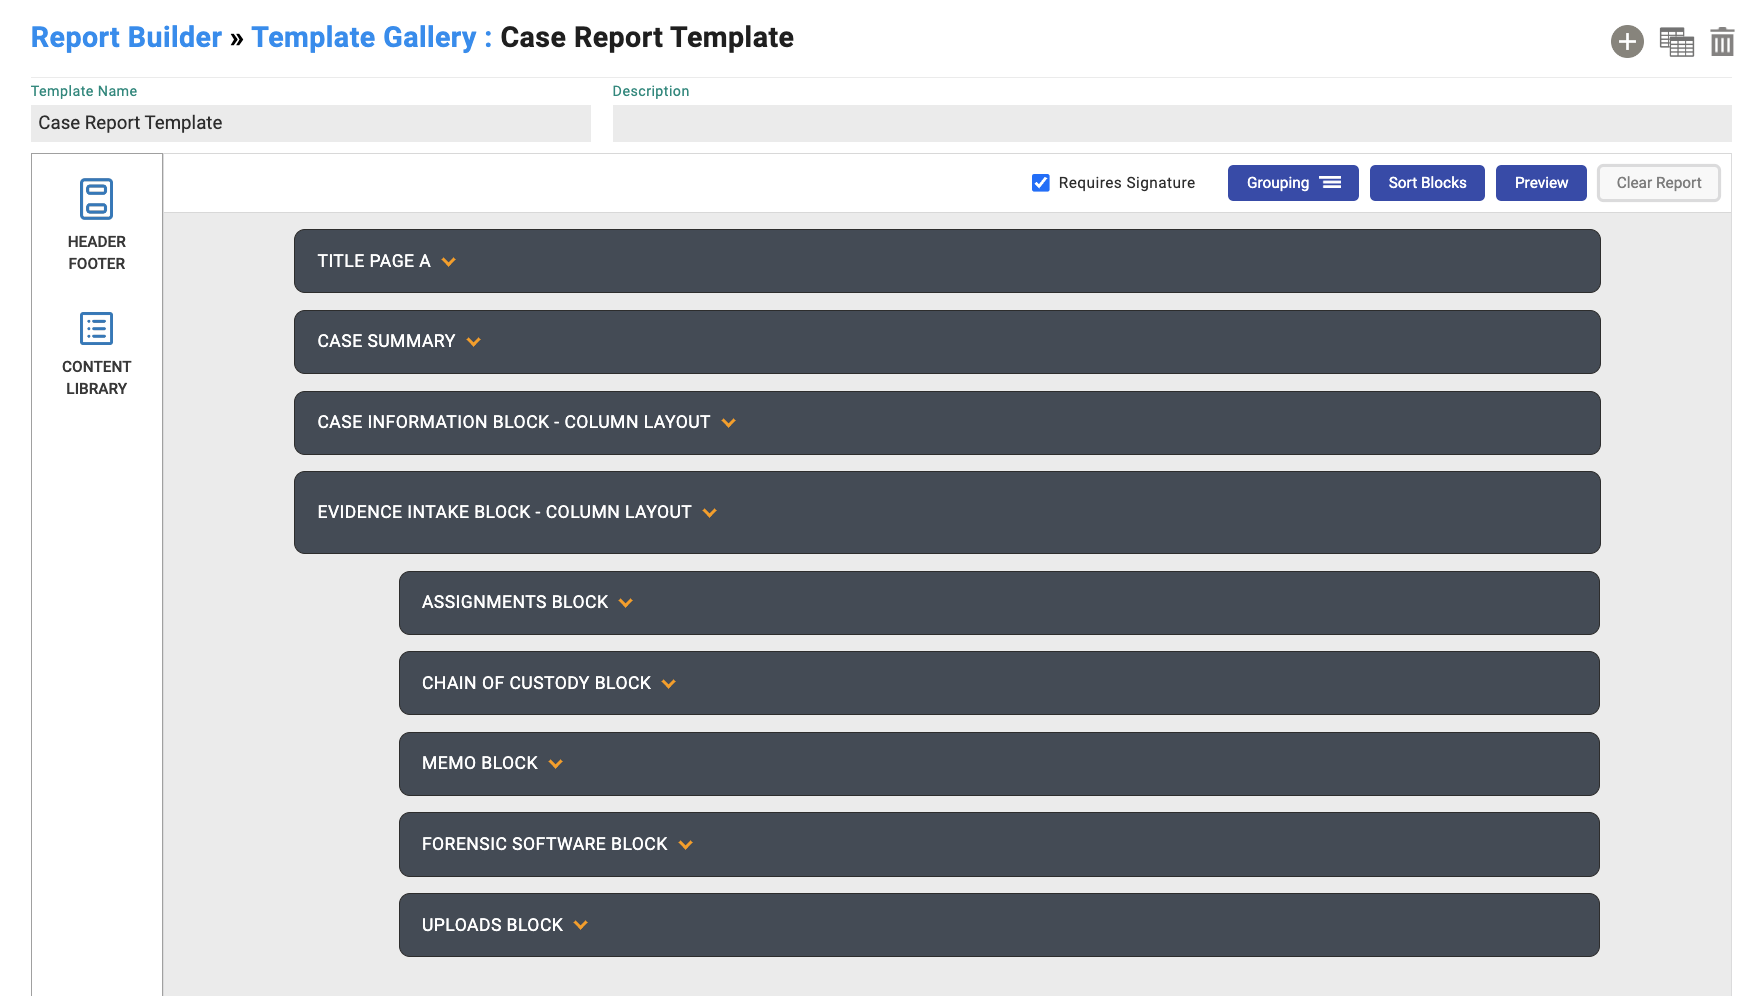
Each template is composed of multiple blocks. Blocks are modules that contain data from your case or evidence. You can add blocks from the Content Library in the sidebar which will give you an option of the types of blocks you can add.
With each section there you have options of what kind of blocks you want to put in. For example, you may want to have a version of Evidence Intake that includes Deadline information for certain reports and not for others.
You can create different blocks by navigating to the Content Library with the link at the top of the sidebar or throught main menu Admin > Report Builder > Content Library.
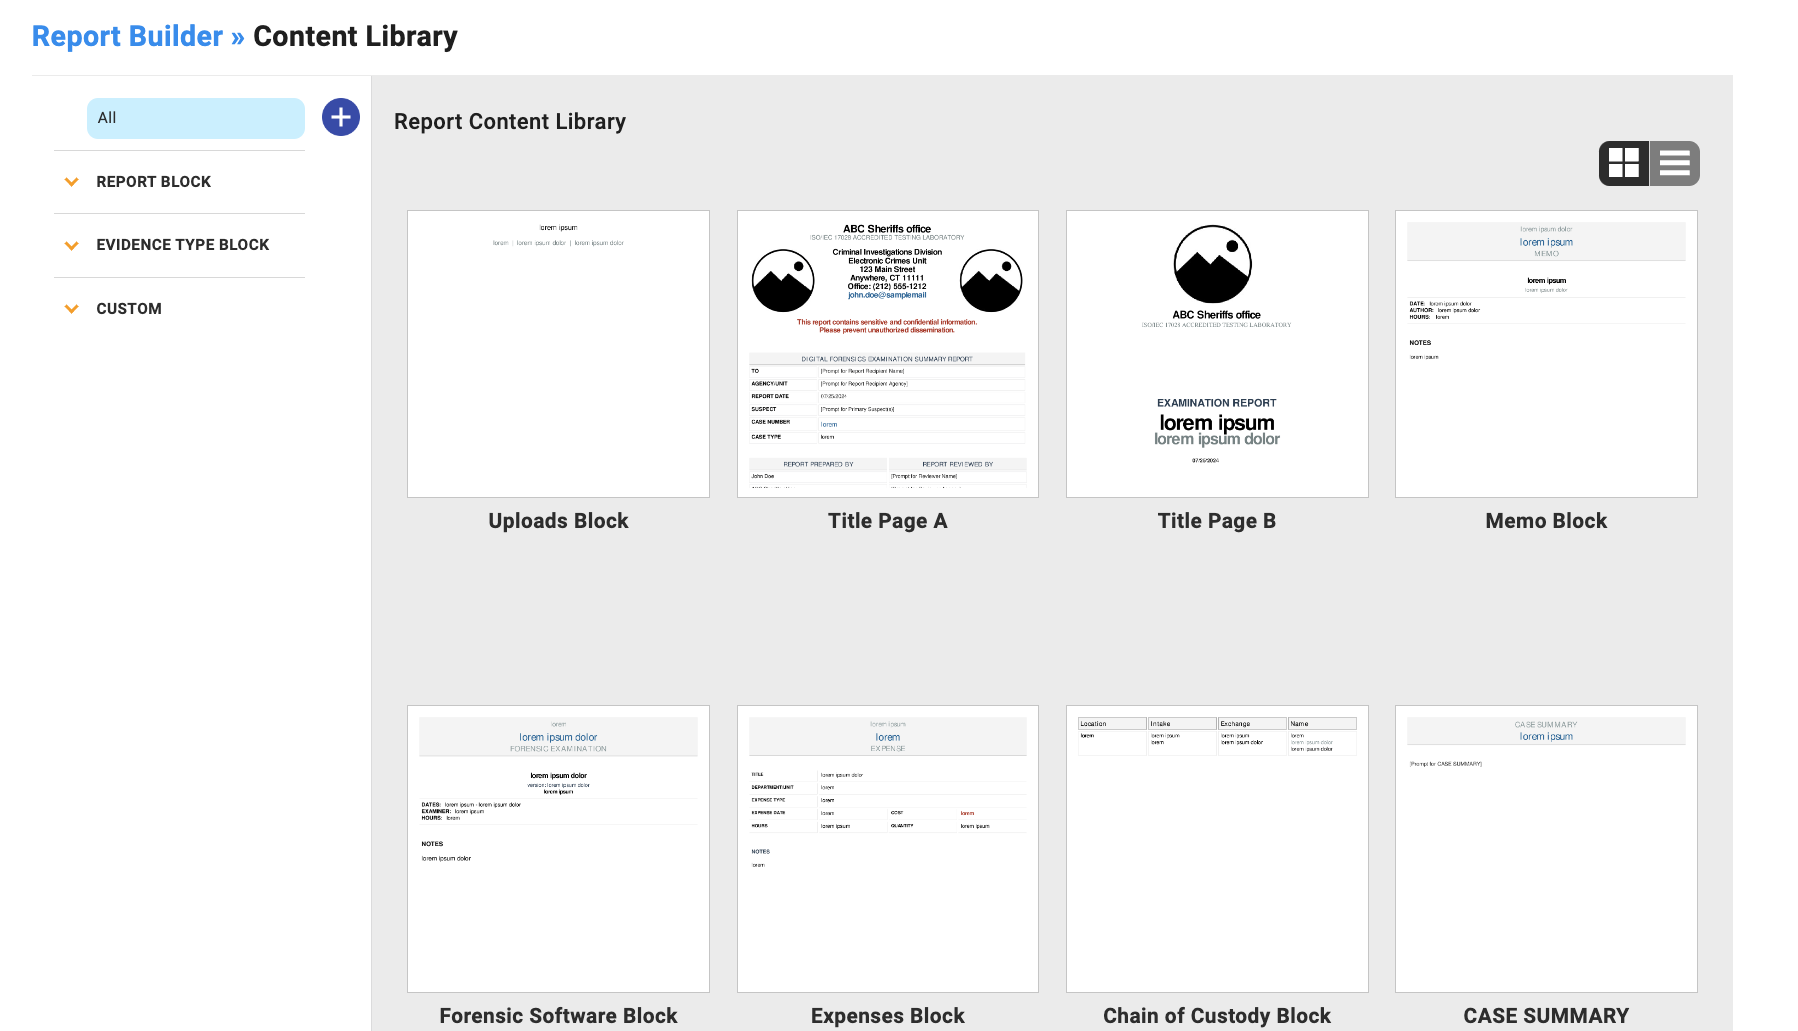
Here you can click on any existing one to edit the block or add a new block with the plus button. You also have option to copy an existing block, delete blocks, or preview what they would look like as a pdf.
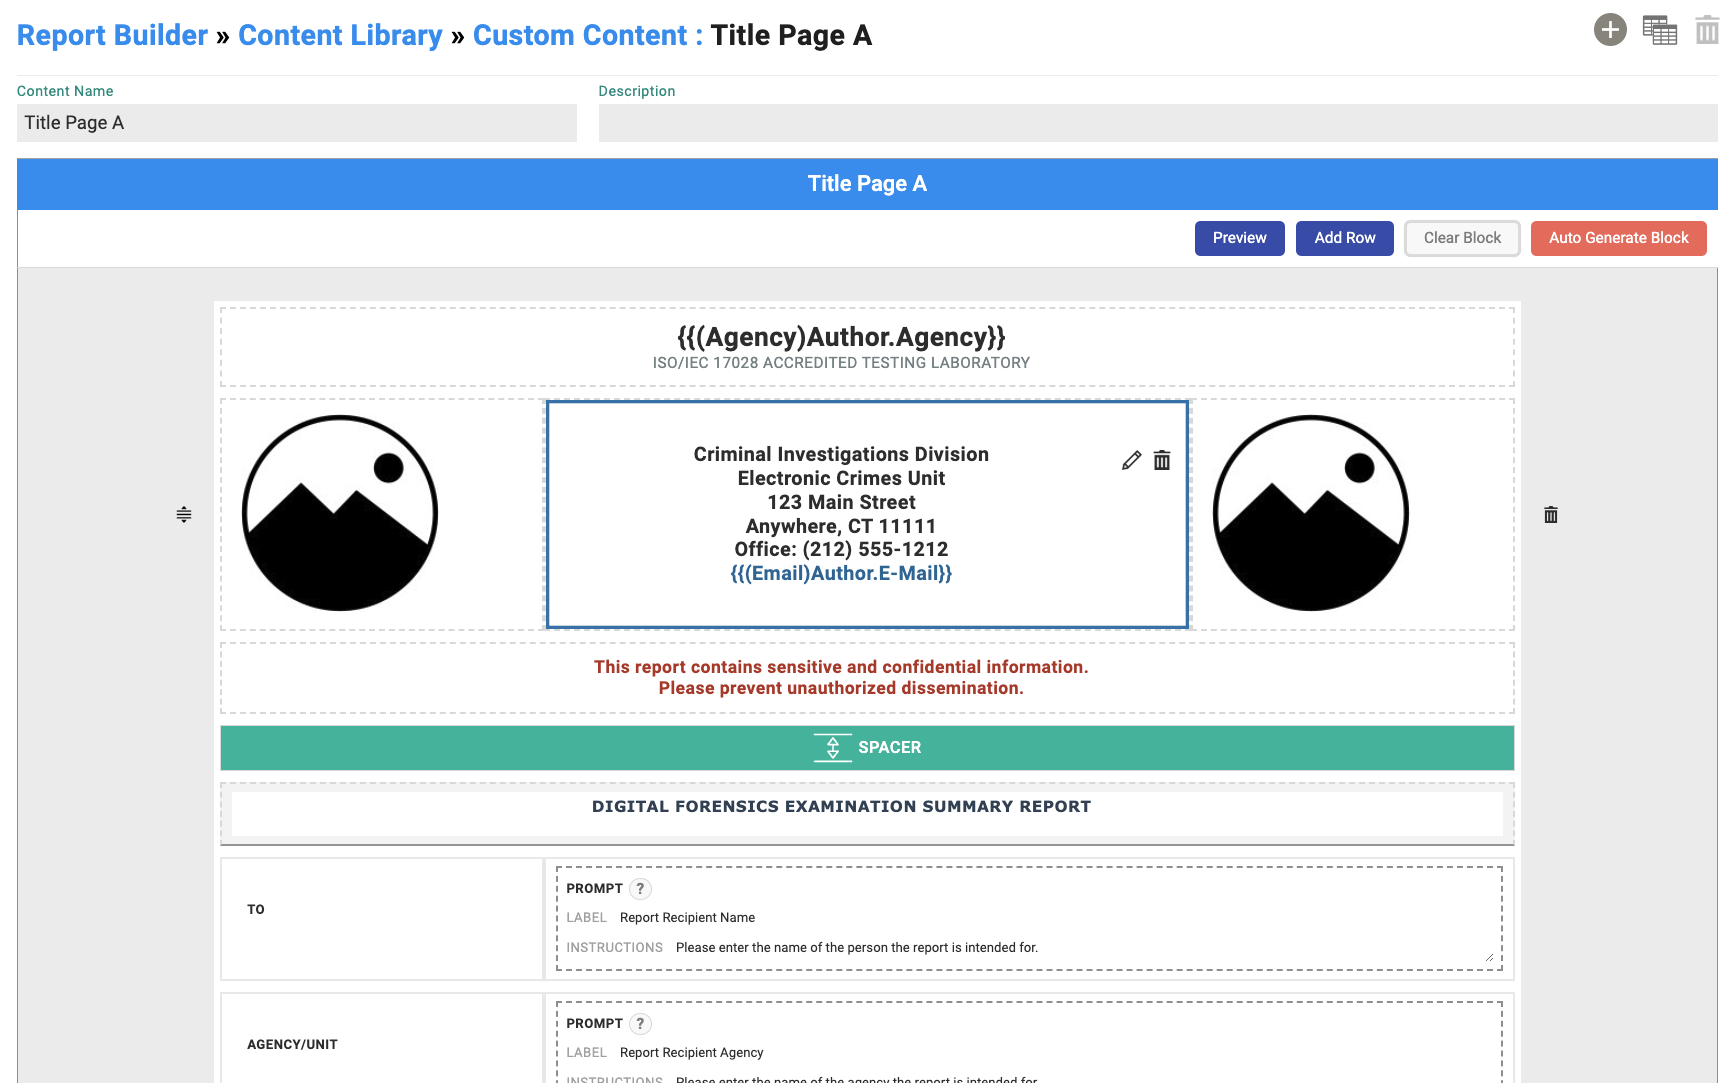
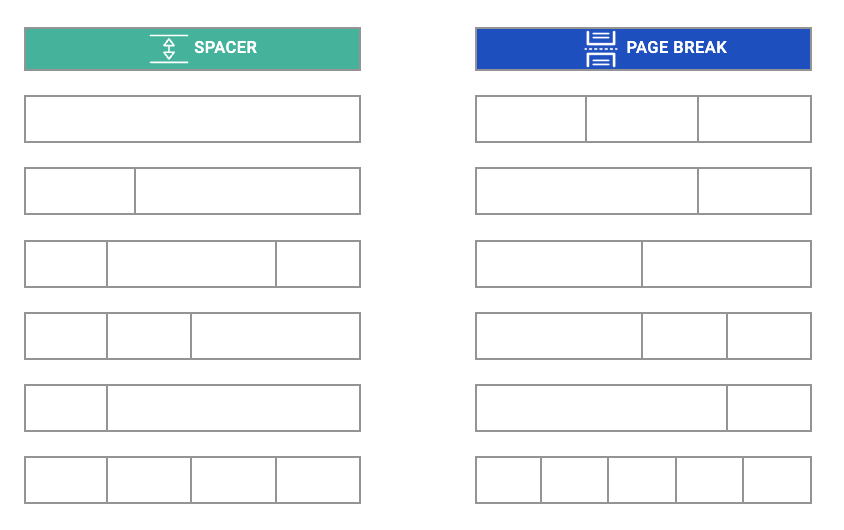
Clicking on a block, you are now able to edit the block. The block is broken down into rows and columns where you can add essentially any information you would like. Clicking Add Row opens a modal that gives you several options for row configurations as well as spacer or page break options.
Within each column, you have multiple options of content you would like put inside.

You can add any relevant xBit field you want to a template / block. For example, if you are editing a case block then you can add information like the case ID or suspect information.
Short Text and Rich Text Fields
These are text fields that for the most part stay consistent between cases. Useful information to put here may be agency information. You are able to add dynamic merge fields that will use the name or email of the current user.
For example entering, "I am {first_name}, and my email is {email}" will output "I am John, and my email is john@xbitdcm.com".
You can format the text anyway you like for color size by clicking on the pencil edit button and using the rich text editor.
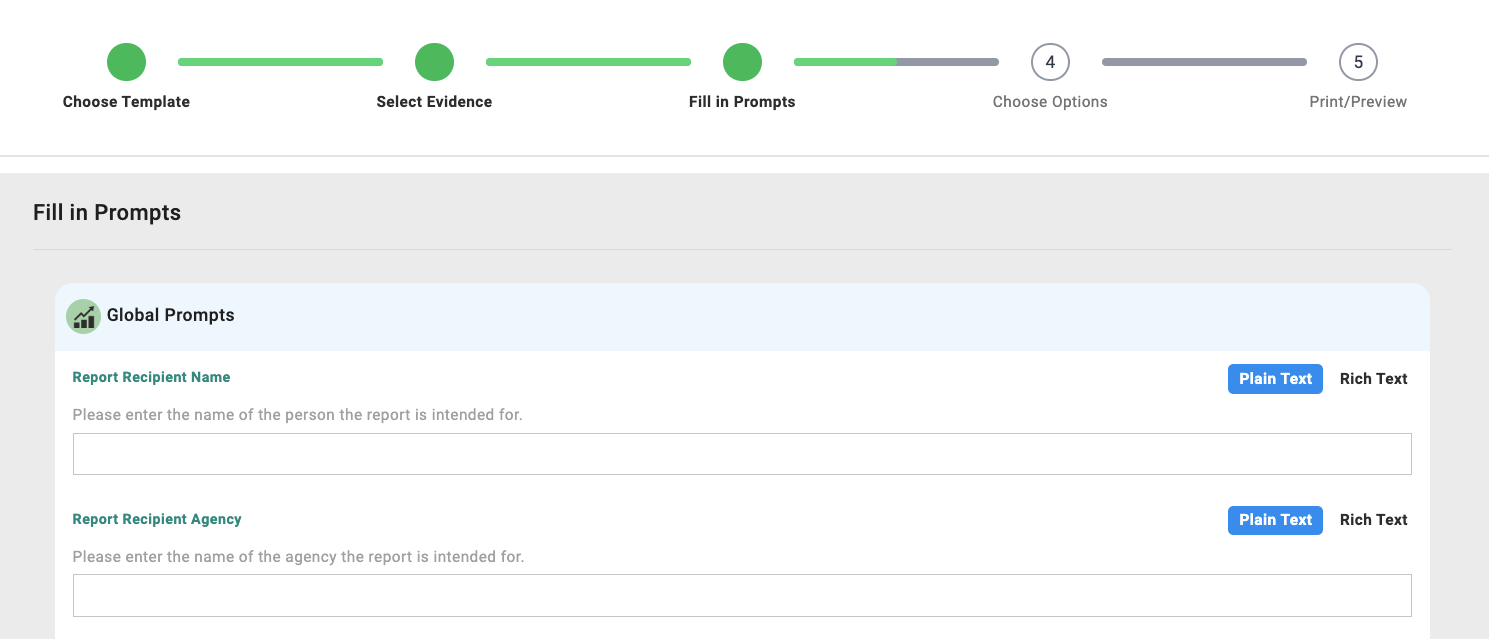
Prompts
These are fields that users will be asked to enter upon report generation. For example, a user may be asked to input a summary of the case summary.
Other fields that can be included are the current date, an image, your agency logo, or an empty field. Empty Fields can be used to let someone pencil in information. Once you set an empty field you can also format it how you like.
Prompts will be displayed to users as part of the report generation process like so:
Formatting
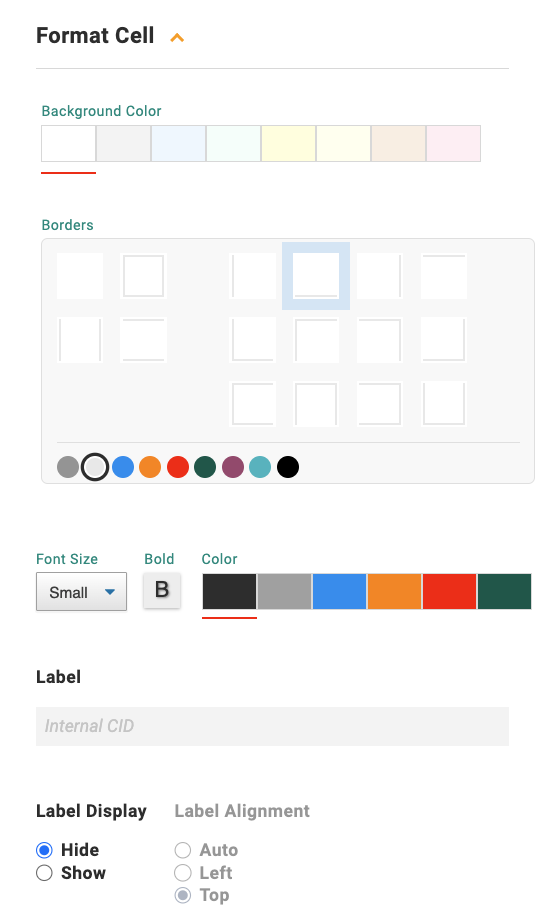
Clicking the pencil edit button on a field allows you visually edit a field.

You can edit format a cell changing it's background color, whether or not a label is displayed, how the label is aligned, and the border color.
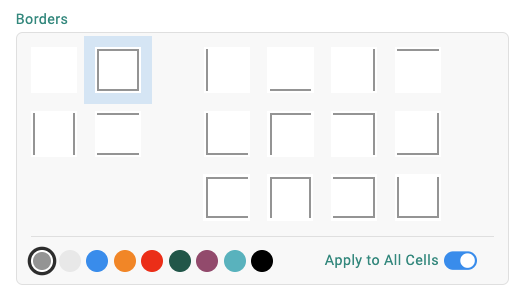
In the Template Builder. you have similar functionality.

But here you can apply styling to all cells in a block. This requires that you Customize a block though.
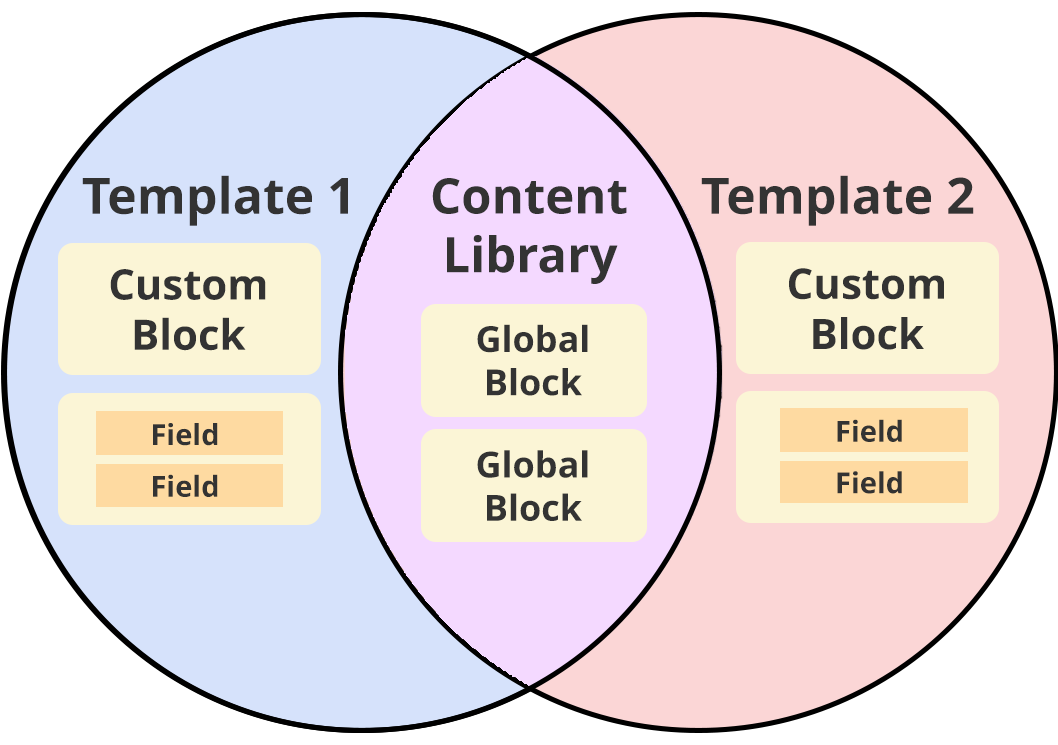
Customized Block Vs Global Blocks
By default, most blocks are saved to the content library. Multiple templates can use the same global block and when you change a block in the content library, it will change the block in all the templates where the block is linked.
What do you do if you want to make a change in one template but not change any of the others? In the template you want to change, click on Customize and it will create a local block in the template.

You can then edit the block just as you would in the Content Library by clicking on the the name of the block or the orange arrow and adding/editing/deleting fields.

If you would like to save your edited local block to the content library to reuse it in other templates, simply click on Save to Content Library.

Checking Include Evidence Type Data for evidence intake fields will include data specifically for the report block for that evidence type. For example, a phone would have a phone number, pattern lock, sim card number, etc. You can find the evidence type blocks in the Content Library in the left sidebar.
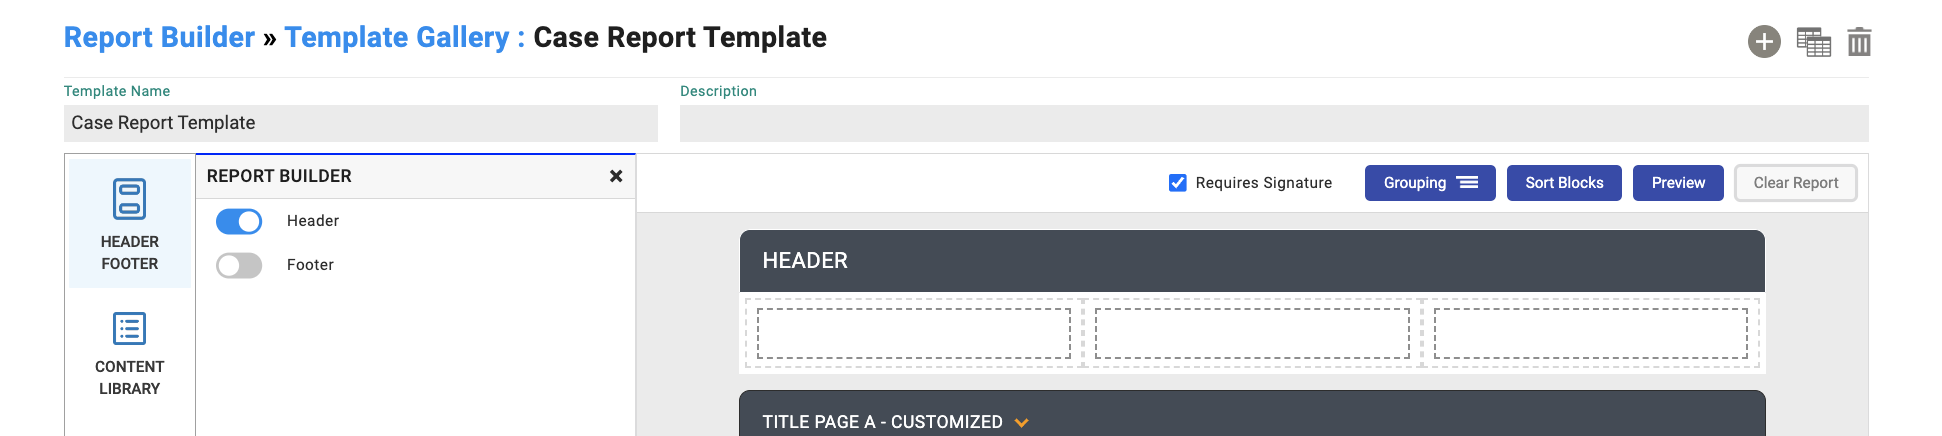
To add a header or footer to a page, go to the template. select Header Footer in the sidebar, and enable it. Adding content here will display it on every page.

Require Signature
This will add a signature section to the bottom of the report.
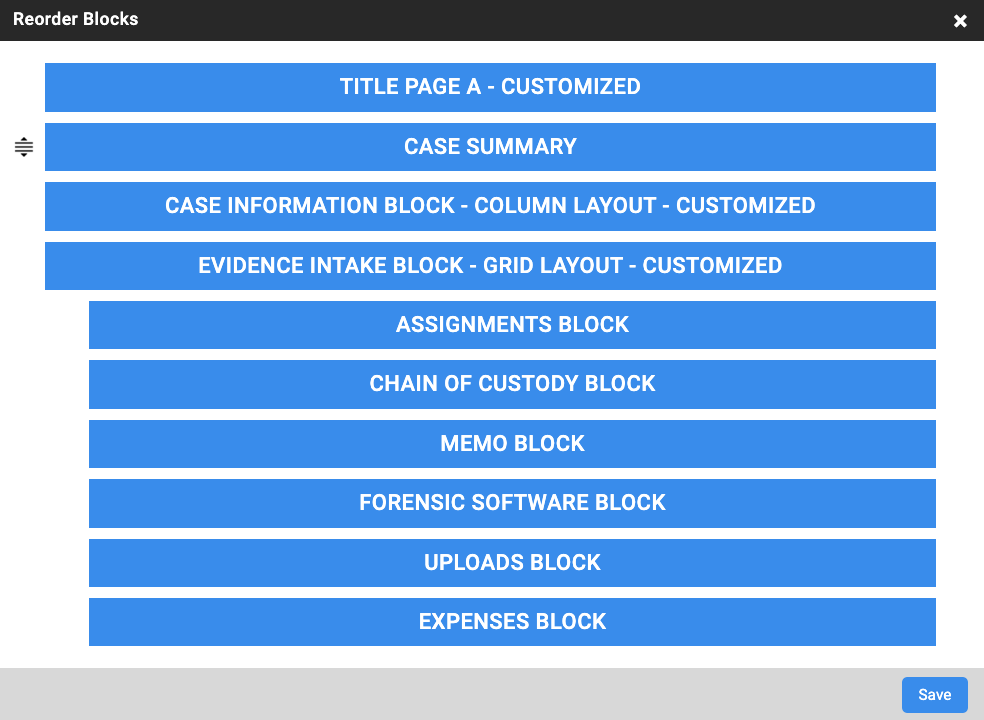
Sort Blocks
You can rearrange blocks by clicking and dragging.
Title & Description
Will update the title of the block and the description as seen in the Template Gallery.

Generate Your Report
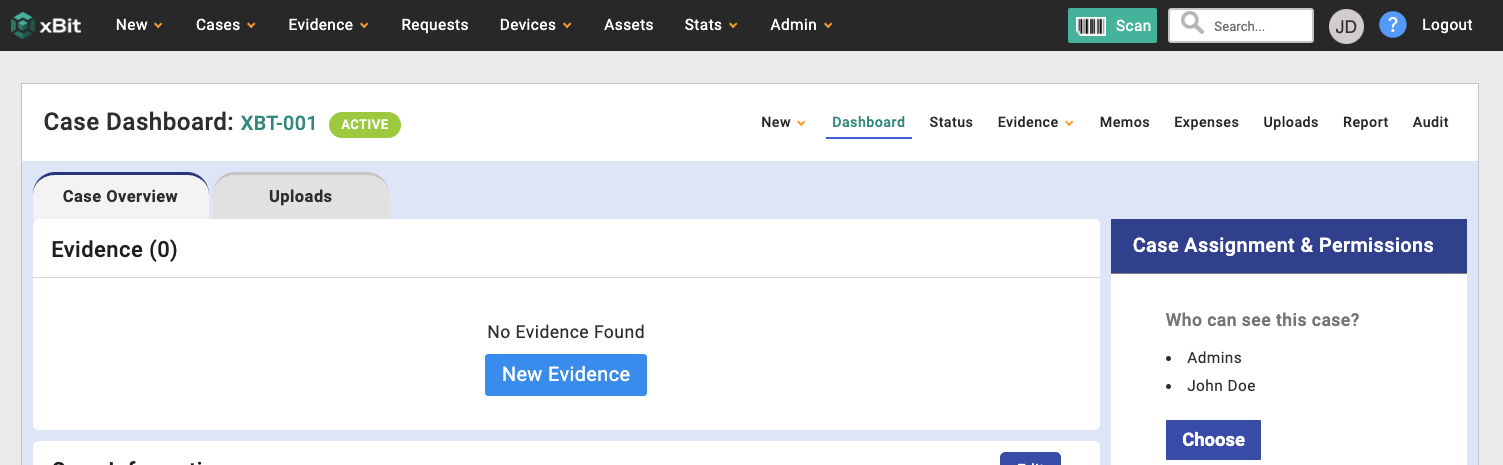
We have changed the location where you generate a report to the right hand side of the case sub-menu. This submenu will appear when viewing any information related to case such as the dashboard, case memos, uploads, etc.
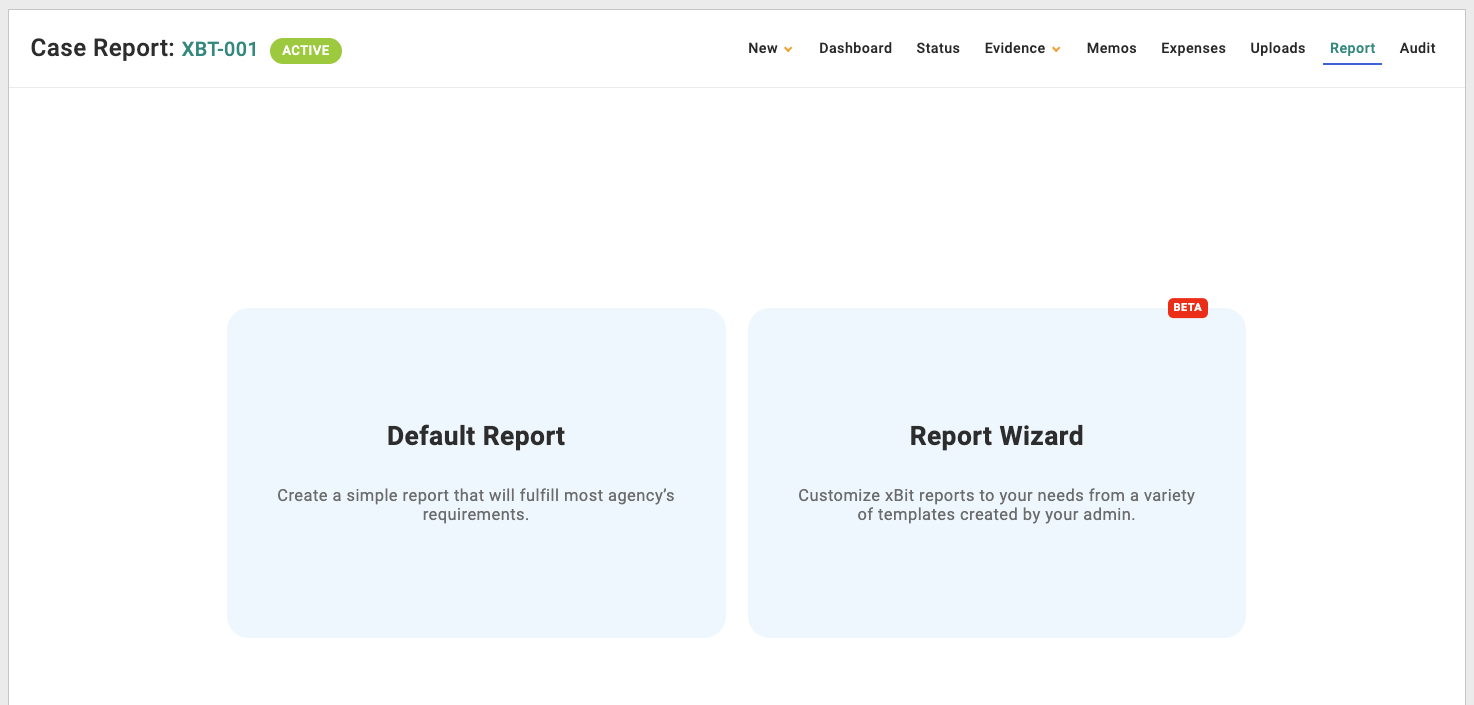
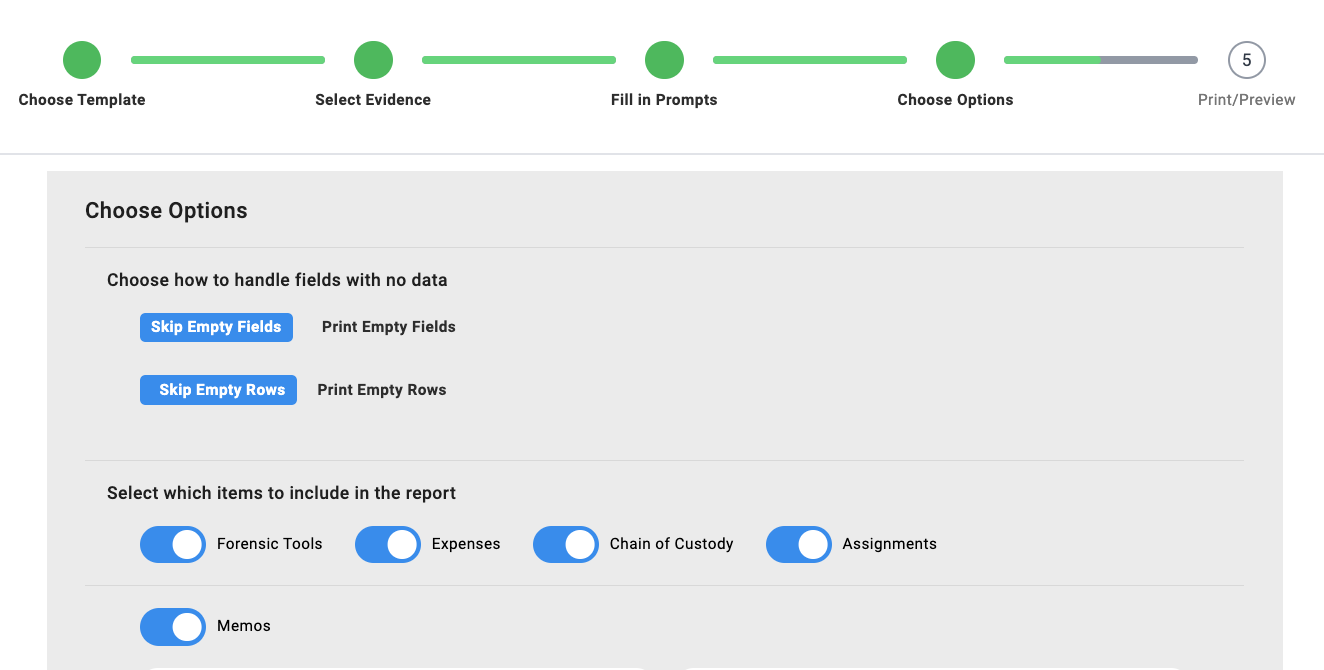
There are 5 steps to generating a report displayed on top as you progress. You can return to a previous step by clicking on it. The first step is to choose a report. You can choose Report Builder Templates from the Report Wizard or choose the Default Report.
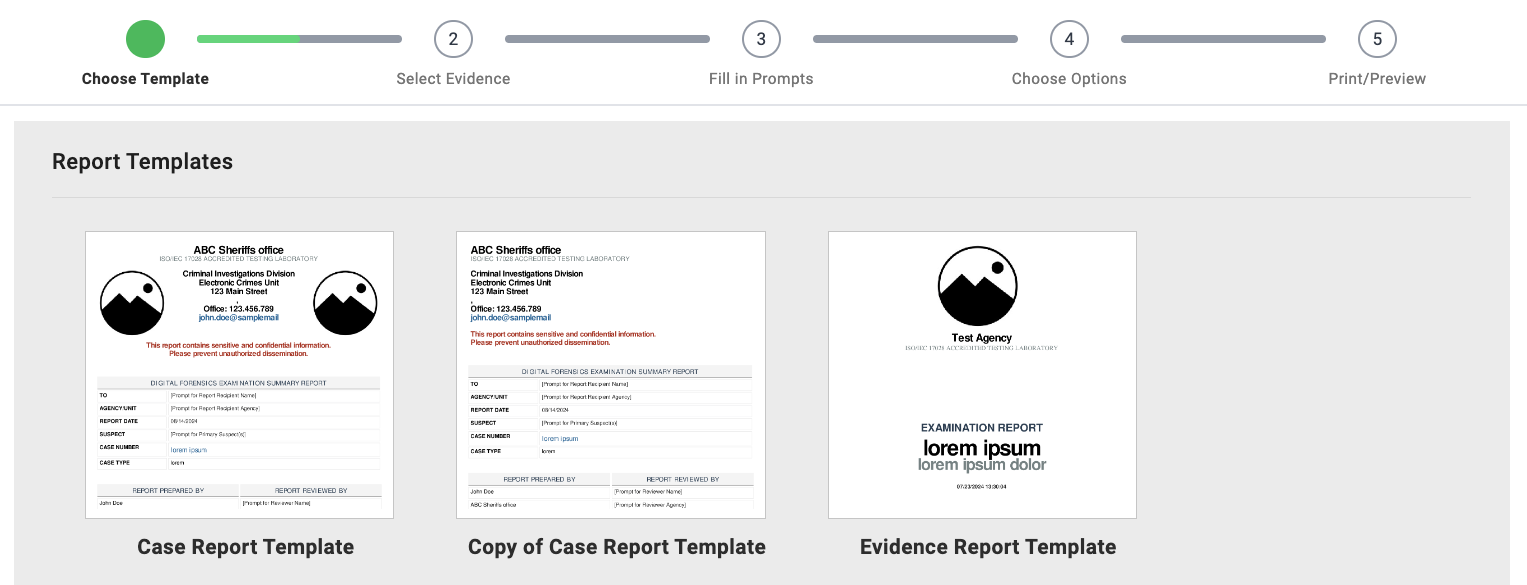
- Choose a template. Any new templates or variations will appear here.
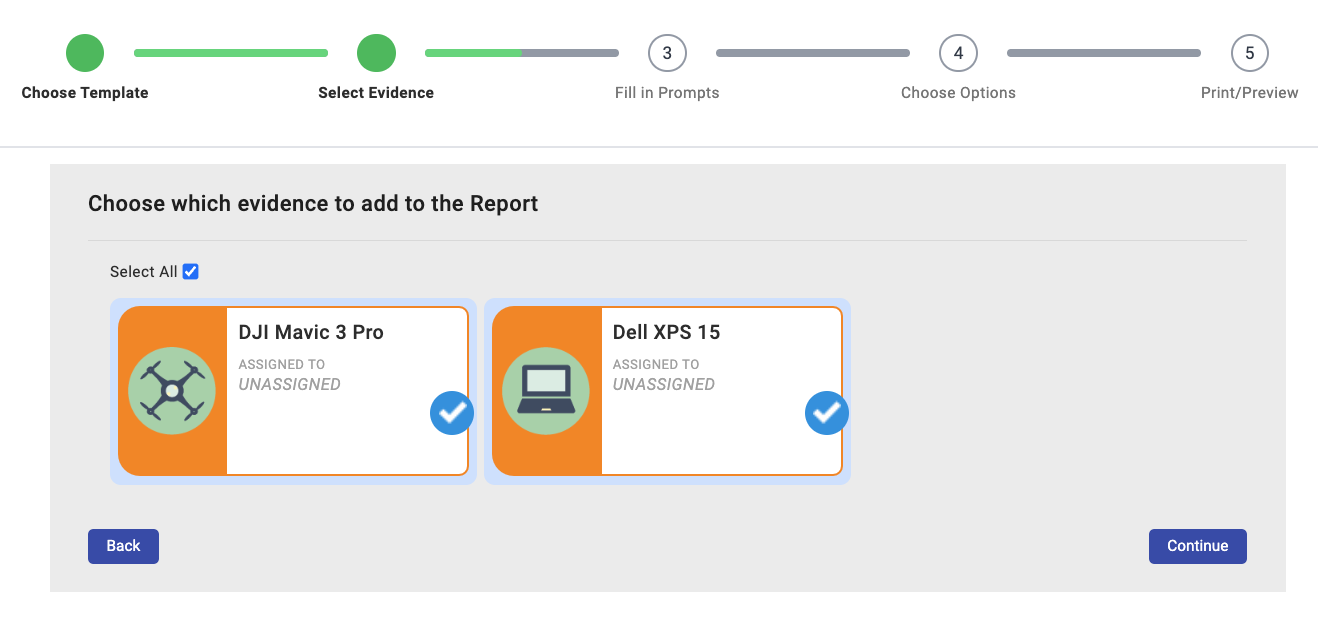
- Select evidence associated with the case.
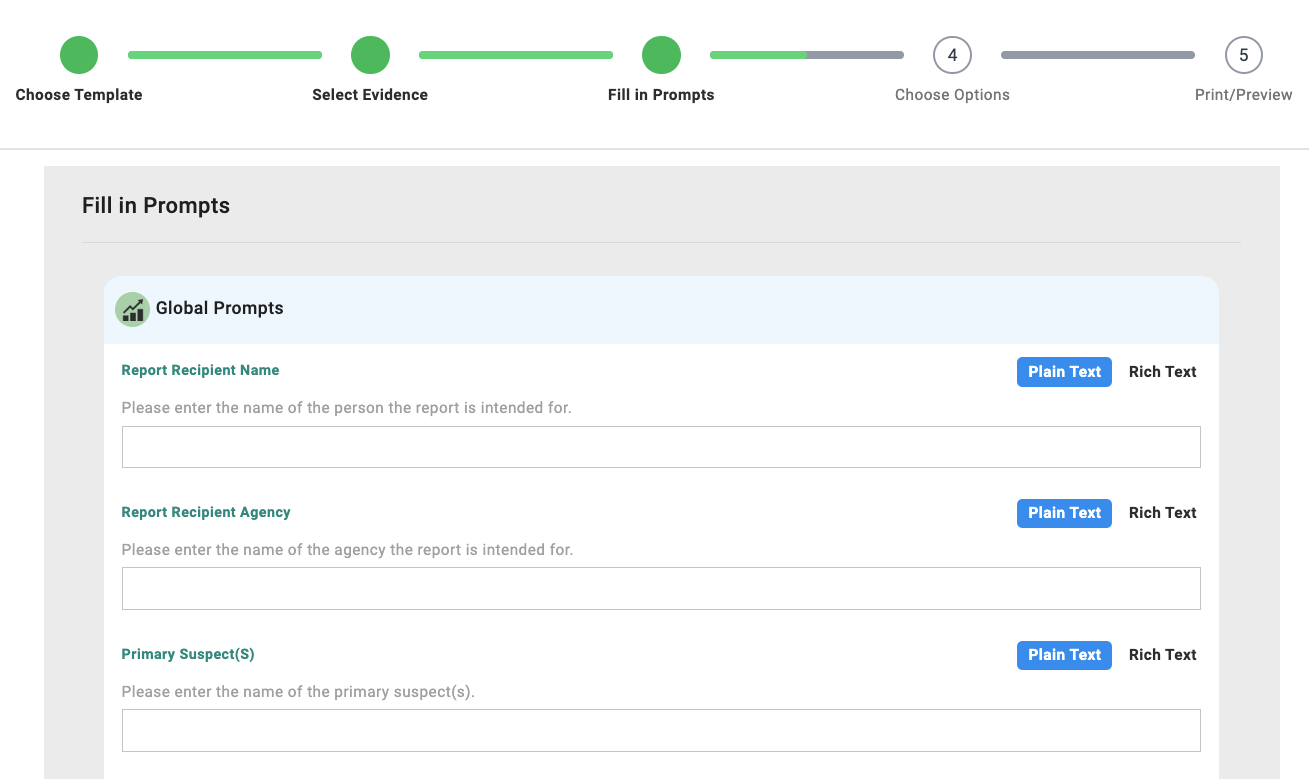
- Fill in prompts. These are fields set in the Report Builder Template.
-
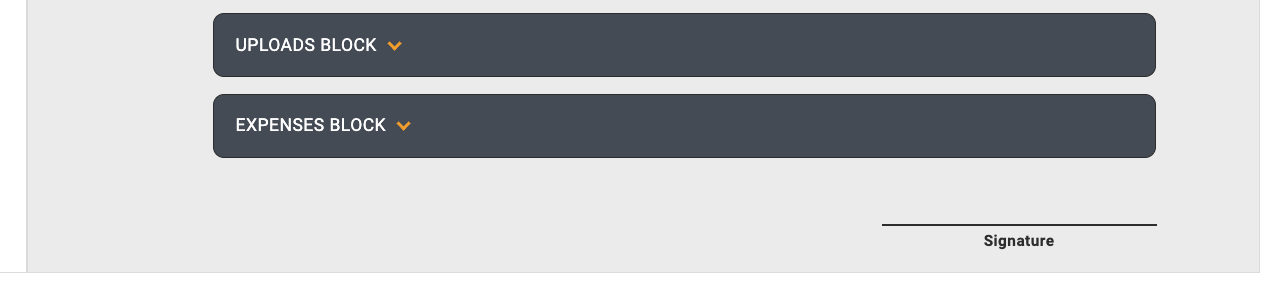
Configure your report. Choose how you want to handle empty rows or fields. Skipping empty rows or fields will just remove empty space that may look jarring in your final report output. Select which parts of the report you want to include such as Forensic Tools, Expenses, Chain of Custody, Assignments, and memos.
-
Preview the report and generate. If there is a section that you are unhappy with, you can see an Edit button that will bring you to that section's block. You can also add a Page Break to that section.